
On-line since 2002
> 600
pages
> 1150 manufacturers
> 11000
pictures
> 1.000.000 unique visitors
![]()
![]()
![]()
![]()
![]()
![]()
![]()
![]()
![]()
![]()
![]()
![]()
![]()
![]()
![]()
![]()
![]()
87thScale.info does not
spam. If you received a
spam message with an 87thScale return mail
address it is forged.

A restoring story
- By Albert Prats
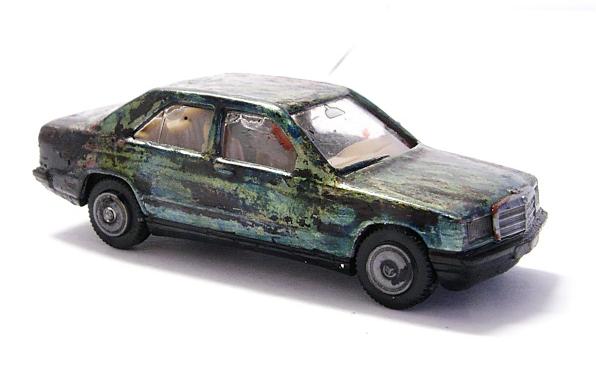
Several days ago I received 120 Herpa and Wiking models I had bought at less than 60 EUR. These lots normally reach higher prices at auction, usually over 100 EUR, so what happened to these models ? All of them were painted..... awfully painted. Ofcourse I knew they where, but since I also know how to restore them I placed a bid and won the lot.
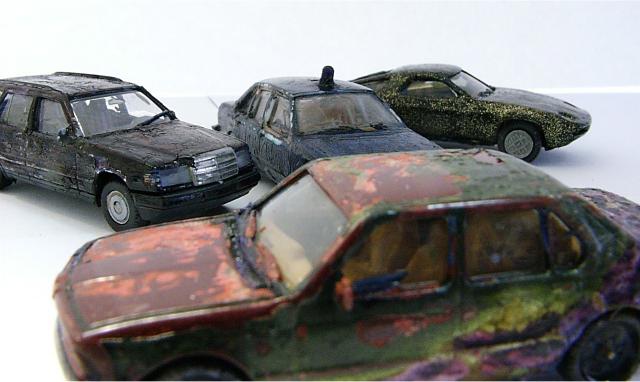
When I received the cars, (I think there were 121 ;-) ) they looked even worse than expected. Most of them had three or four coatings of different kinds of paint which was a real pity because some of the models, like the Herpa Alpina 3, 5 and 6, are pretty rare and appreciated nowadays. On the other hand however, I now had the chance to do whatever I wanted with these Alpina models, something that I wouldn´t have done if the models had been in good condition.
The first step was to sort the models. Despite the fact that they were all painted, the bodies looked as if they were in a good condition except maybe three or four models that had broken pillars and a Herpa BMW 6 that had something that looks like a pallet glued on the roof !!
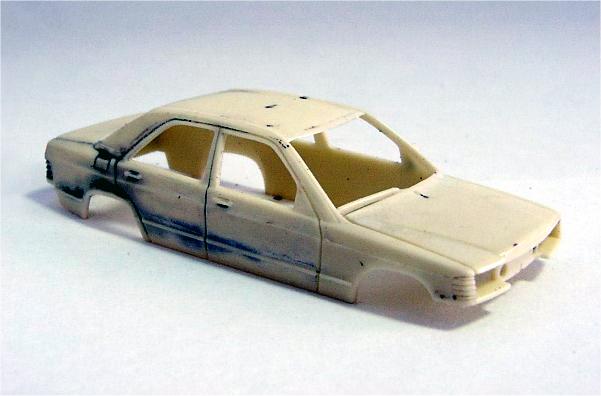
Removing the paint
Once the models were sorted I put them all into different recipients and sprayed oven cleaner on them. Oven cleaner spray removes most kinds of paint and doesn´t damage the plastic, neither the body nor the glazing. After the models had been inside the recipients for a couple of hours I began to examine the models. The oven cleaner had removed most of the paint of several models but there were several others where the oven cleaner had only removed one coat of paint. Using gloves (oven cleaner can damage the skin) I took the cars one by one and tried to remove the remaining paint with a small brush. The first model that was cleaned was a BMW 6. Nice! After the BMW I cleaned some other models, like the beautiful Porsche 911 turbo in pale yellow pictured.

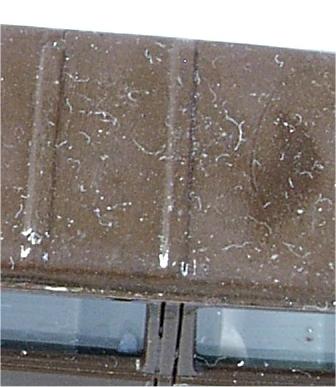
Two hours later I had 10 models cleaned or almost cleaned. There were still more than 100 models left ! Most of these models went into the oven cleaner again and kept in it overnight. The next day I had more clean models, but unfortunately removing the paint also revealed that the paint that was used when the models were painted had damaged the surface of some of the bodies. The bodies had small waves in them, just as if the paint had reacted with the plastic.
The models are now divided into three categories:
- Models with a lot of paint still to be removed.
- Cleaned models.
- Partially cleaned models and slightly damaged models.
The models from the first category are waiting for more oven cleaner, the models of the second category will be retouched, these will for instance have their lights painted or the wheels chromed because everything was taken of by the oven cleaner. The models of the third category will be restored.
|
|
|
|
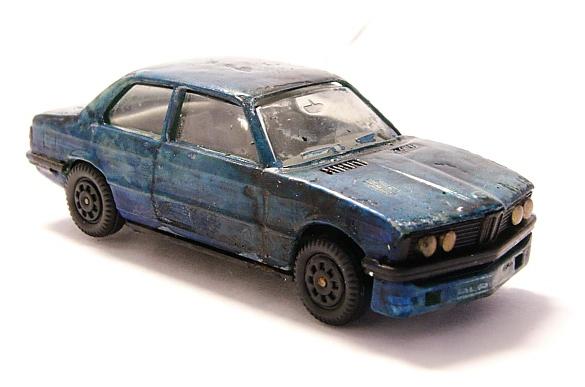
Before.... and after.... painted on the left and cleaned and retouched model on the right |
|
Restoring the models
The first thing I have done was sort the models to be restored into two lots, the models that had damaged bodies due to the paint were seperated from the ones in good condition. Then I started to disassemble the models which was not an easy task because some of the bodies had been glued to the chassis, but with patience, good music on the background and a cutter I could do it.
|
|
|
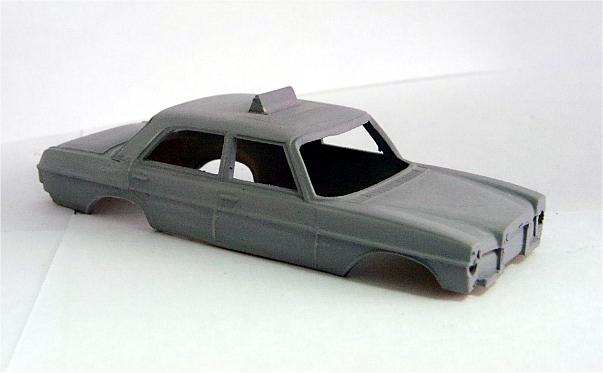
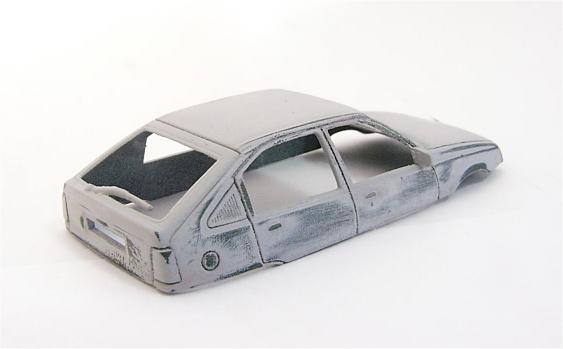
Both bodies pictured above are primed with Tamiya primer and then sanded. That will probably be enough for these two, and the models are now ready to be painted. If the bodies had been too irregular though, a second layer of primer would have been required. Make sure the surface is completely smooth and that the engravings (doors, windows etc.) are clean of excess primer before you start painting. If there is an excess of primer, remove it with a sharp blade.
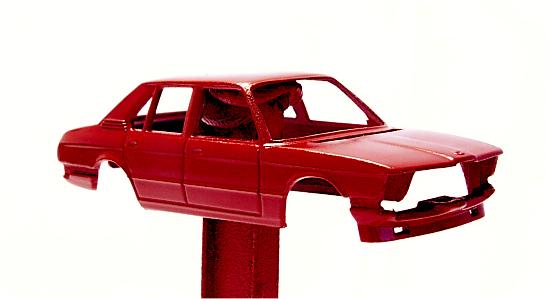
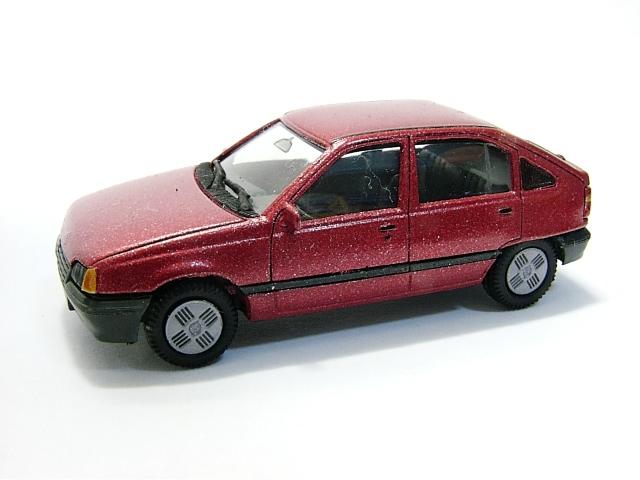
Now it is time to paint. For the BMW 5 pictured below I have chosen a realistic colour, an Italian red. It used to be a green Alpina version originally but now it will just be a red BMW 528i with an aftermarket front spoiler ;-). For other models I may choose a crazy colour like violet or orange, so it will look like one of those tuned cars we have all seen on the roads. Especially with the appropiate 'alloy' wheels fitted the look will be awesome.
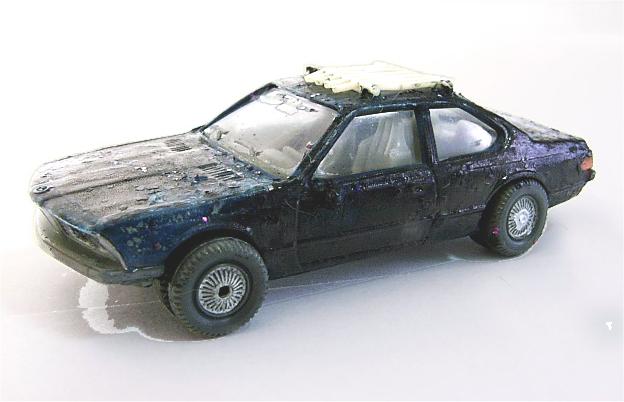
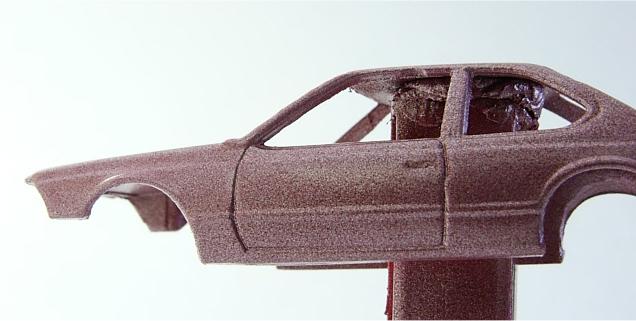
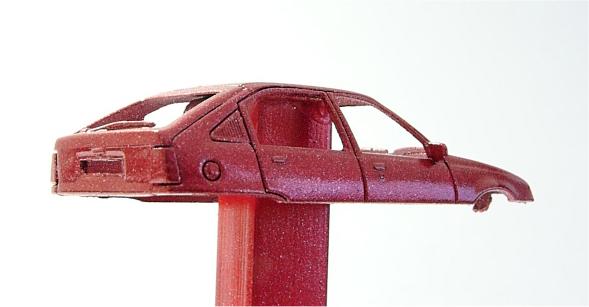
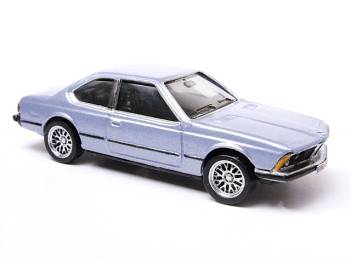
Have a look at the BMW 633 in the picture below, it still needs a lot of work but if you look closely you will notice that I have taken off the rearview mirror. When the model is finished I will add a mirror in the correct position and not in the middle of the door, where it was originally placed.
Summarizing, I think it is safe to conclude that this may not be the cheapest or easiest way to add a lot of models to your collection at once. The time you need to clean and restore the models and the money you will have to spend buying the materials, almost makes these models more expensive than new ones. But if you enjoy retouching and transforming cars, like I do, these kind of large lots are just made for you. I know I now have a stack of models to paint that will last for more than a year and I may even be able to transform some of them into completely different models.
And what I know for sure is that I have enough models to restore to be busy those boring Sunday afternoons in winter !
|
|
|
|
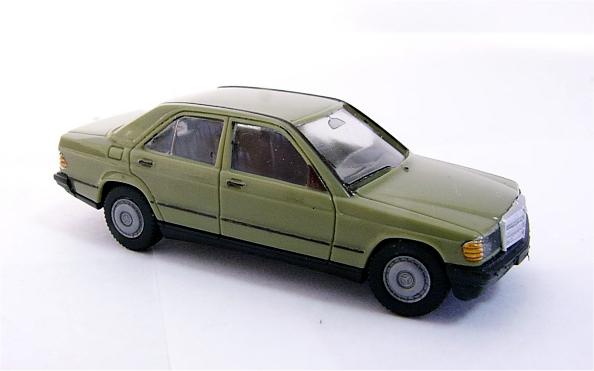
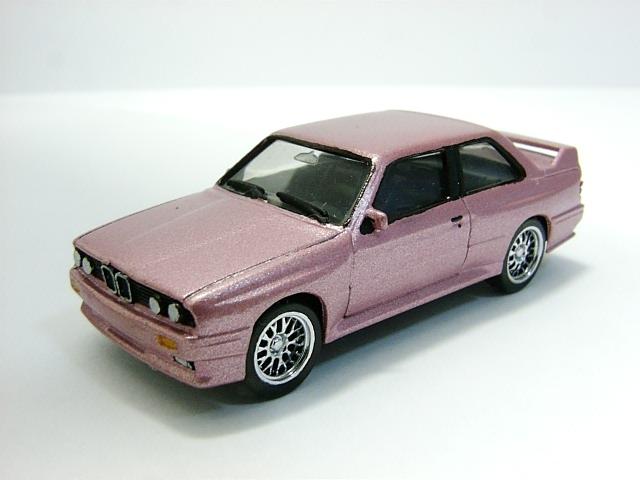
Painted body on the left and the finished model on the right |
|
 |
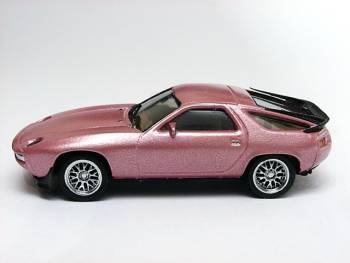 |
| Remember the BMW 633 pictured above ? | Or this Porsche 928 ? |
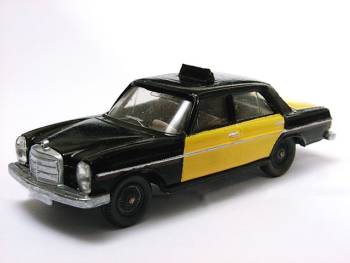 |
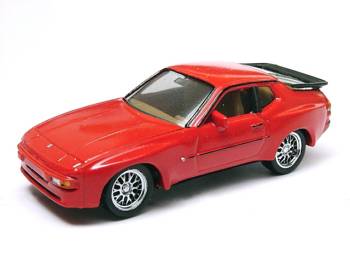 |
| This Mercedes maybe ? | Another restored model, a Porsche 944 |