On-line since 2002
> 600
pages
> 1150 manufacturers
> 11000
pictures
> 1.000.000 unique visitors
![]()
![]()
![]()
![]()
![]()
![]()
![]()
![]()
![]()
![]()
![]()
![]()
![]()
![]()
![]()
![]()
![]()
87thScale.info does not
spam. If you received a
spam message with an 87thScale return mail
address it is forged.

Showcase #23
In January 2006 Paul Dirkzwager released modelkits of several DAF rallytrucks as used in the Dakar rally of 2005. In this showcase Jacco describes building two of the kits, #100521D and #100526D, and the accompanying diorama.
A Paris-Dakar rally diorama with DAF trucks - Jacco van der Kroon
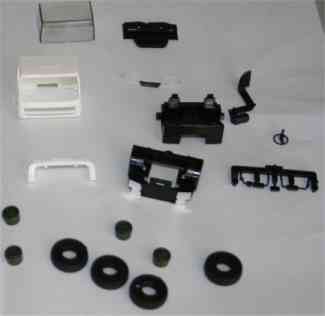
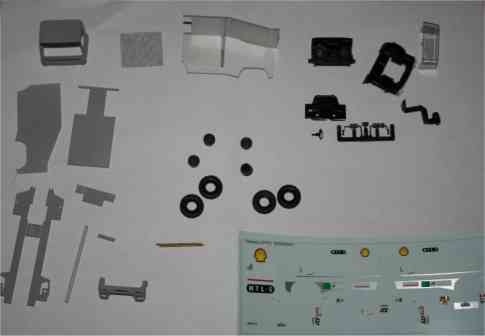
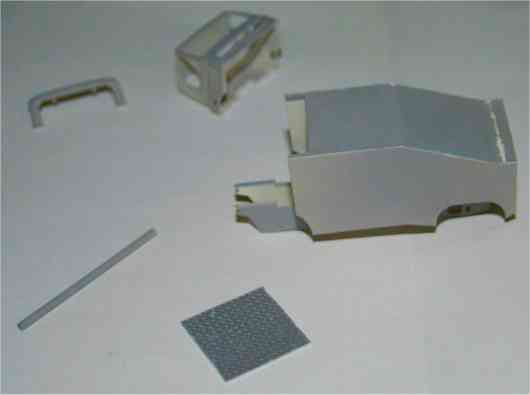
This project starts with two new models kits made by Paul Dirkzwager, the DAF rallytruck and the DAF assistance truck that were used by the De Rooy Team in the 2005 Dakar rally. The kits contain CNC milled parts for the chassis and bodies, Herpa cabs, Roco wheels and decal sets printed by ORC.
|
|
|
| 100526 - CNC parts | 100526 - Herpa/Roco parts |
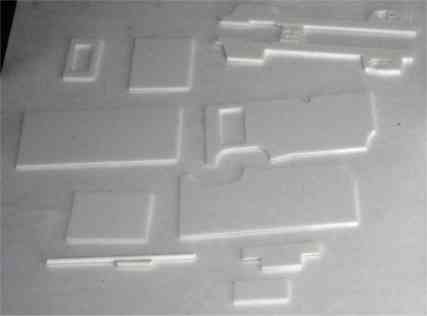
In this picture of the parts of the DAF rallytruck (100521) you can see that I already started to bend the roof of the truck and gave the plastic parts their coat of primer.
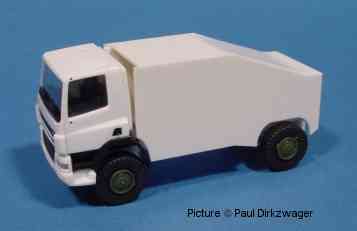
Body and chassis of the truck put together and in primer.

In order to get the right color (Gauloises blue) I had to have it made and spray painted it on the
model, you can see the result in the picture above. Since I didn't like the way
it turned out, I thought the color was too purplish, I did some testing and found out that adding
a layer of Tamiya translucent blue (PS-38) did the job.
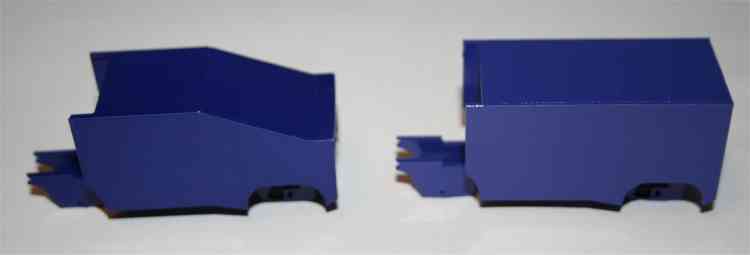
Here you can see the difference, the rally truck body on the left has the extra
layer, the assistance truck on the right doesn't.
After the paint had dried it was time to put on some of the decals, and because
these are rally trucks I’ve added Automobilia safety belts.
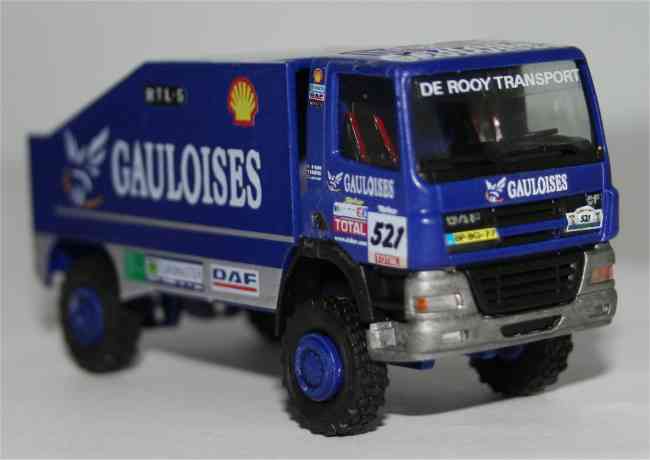
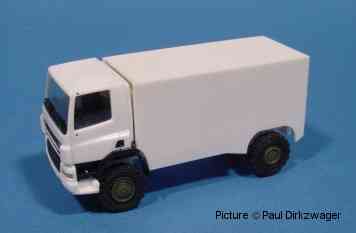
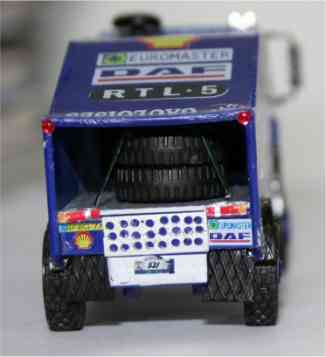
This is how the rally truck looks when it is finished (just using the parts of the kit,
except for the mirrors), but after doing some research on the net I found that the trucks where missing some details
like foglights, spare tires, sandplates and mudflaps so I decided to add these.

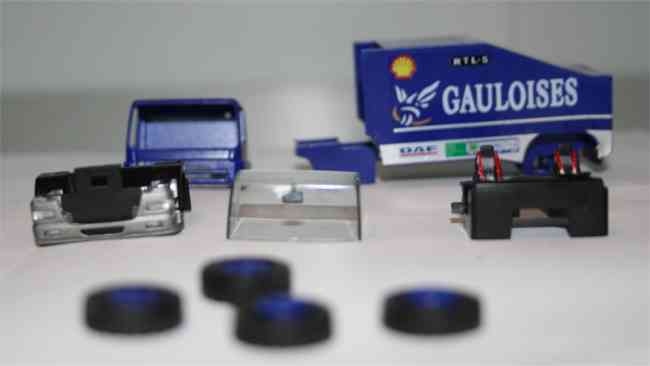
After the details had been added the trucks looked
like this, apart from the added foglights and airhorns you will also see that
the engine air-intakes have been altered. The original ends were cut off and
replaced by round ones made of FIMO-clay.
 |
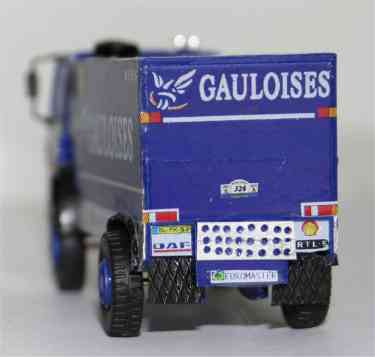 |
The back of the trucks with added spare wheels, extra lights, sandplates and mudflaps.
All I have to do now is weather the trucks and put them on the diorama.... You can see how the diorama was made below.
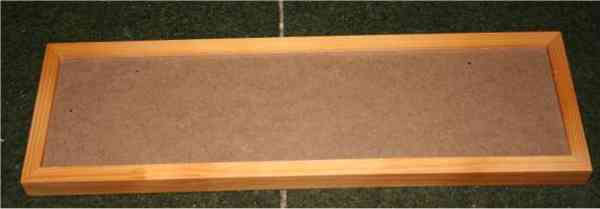
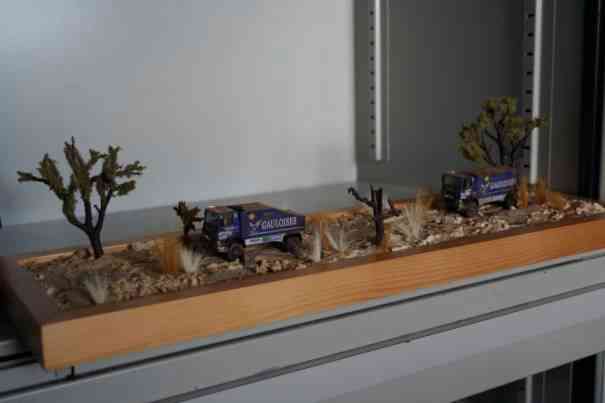
The base of the diorama is a pictureframe.
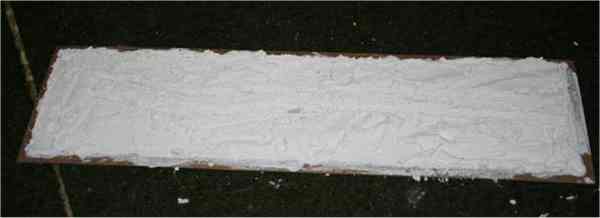
First, I moulded plaster onto the surface of the frame untill it had the right shape.
As soon as the plaster had tried I painted it yellow ochre with waterbased paint and let it dry again.
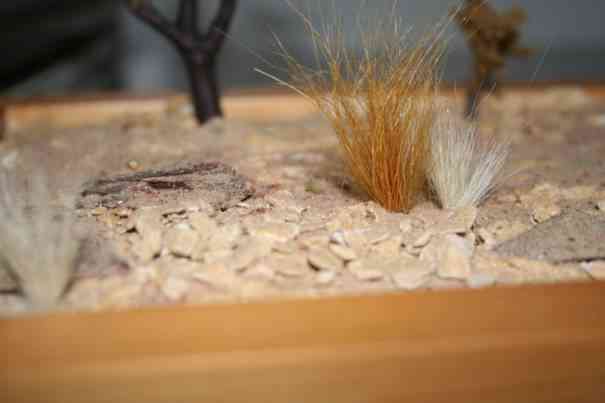
After the paint had dried I sprayed the surface with white glue mixed with water
and covered it with sand and let it dry. After it had dried I removed all the
loose sand and repeated this step until I reached a result I liked. Then I added some big woodchips and some
stones (Thanks to my cat for allowing me to use some of his litter)
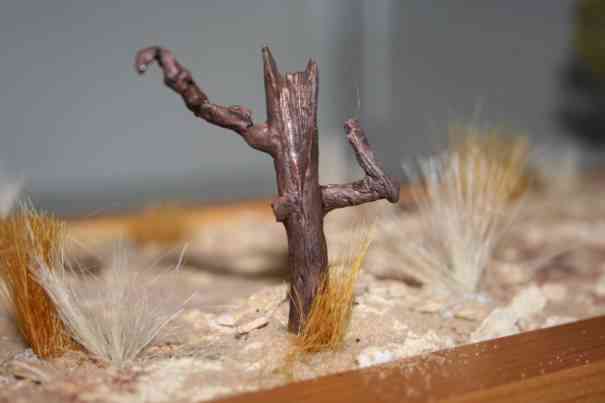
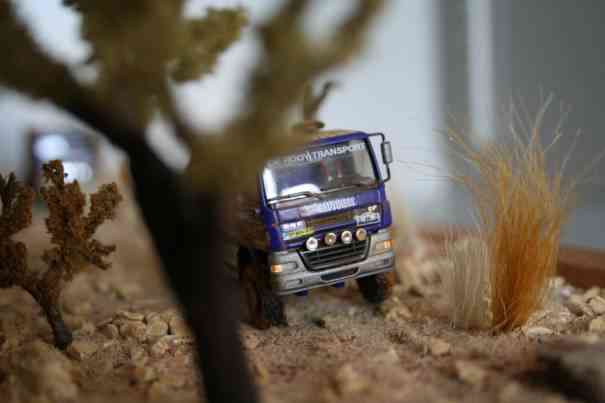
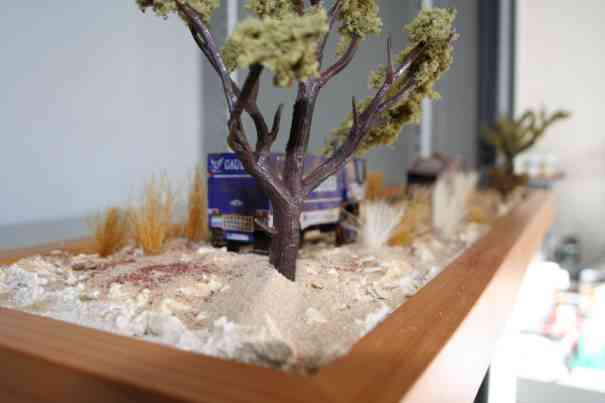
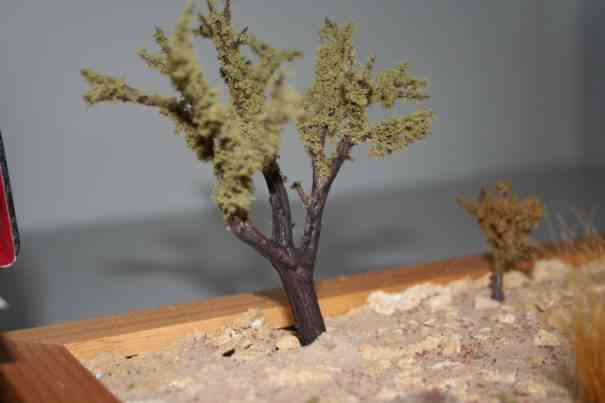
To finish it off I added some yellow/brown and some white grass from Woodland Scenics to simulate dry bushes and added a couple of trees. The trees were also made by Woodland Scenics and were painted brown and then weathered with a little flat black and a lot of water to make the detail of the castings stand out more.
Now it is time to add the trucks to the diorama, you can see the end-result in the pictures below.